This can be done in just a couple of clicks. With your text tool, select your text and press command + a (mac) or control + a (pc) to highlight all. Hold command or control and click and drag your text to the inside of your shape.
This will automatically shift your text to wrap around the inside edge of your shape. To distort an image, often text, to conform to a variety of shapes. For instance, a line of text can be warped in the shape of an arc or wave.
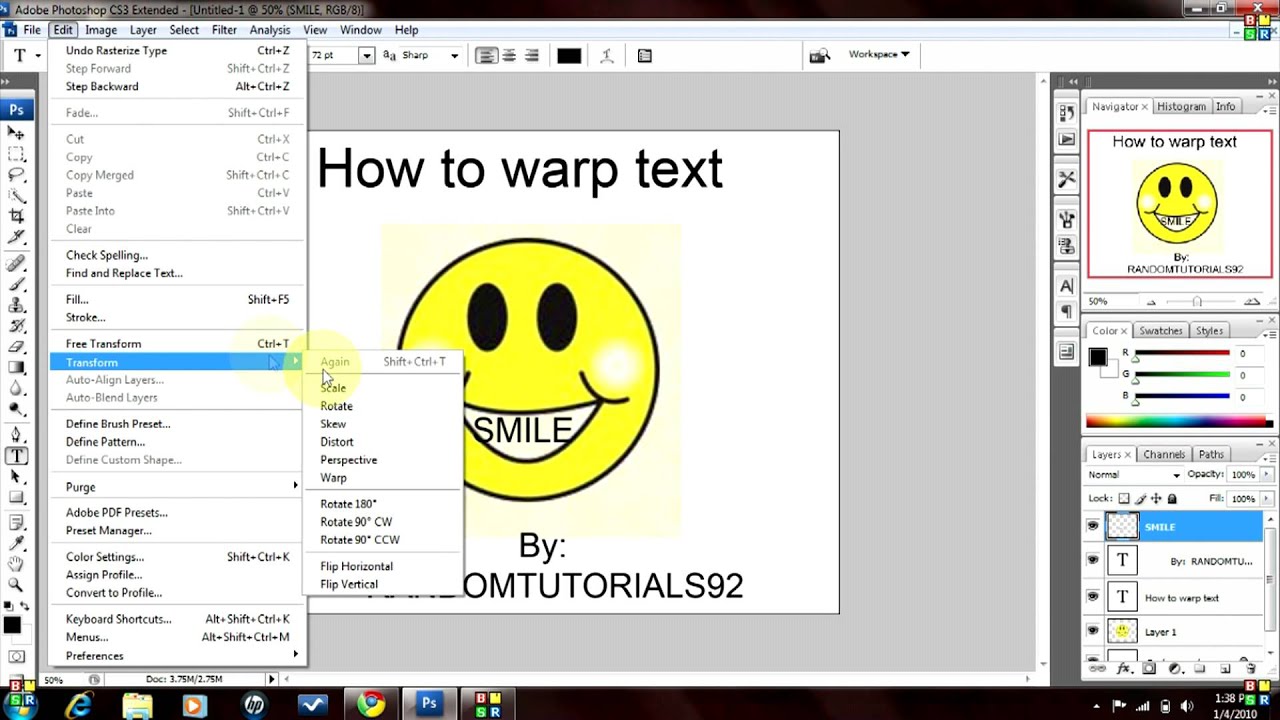
The original text (top) was warped using the liquify filter with a very large brush size (center), and warped using the pinch distortion filter (bottom). Create a warp text effect step 1: Draw a rectangle first, open up the image in photoshop and select the rectangle tool located in the toolbar.
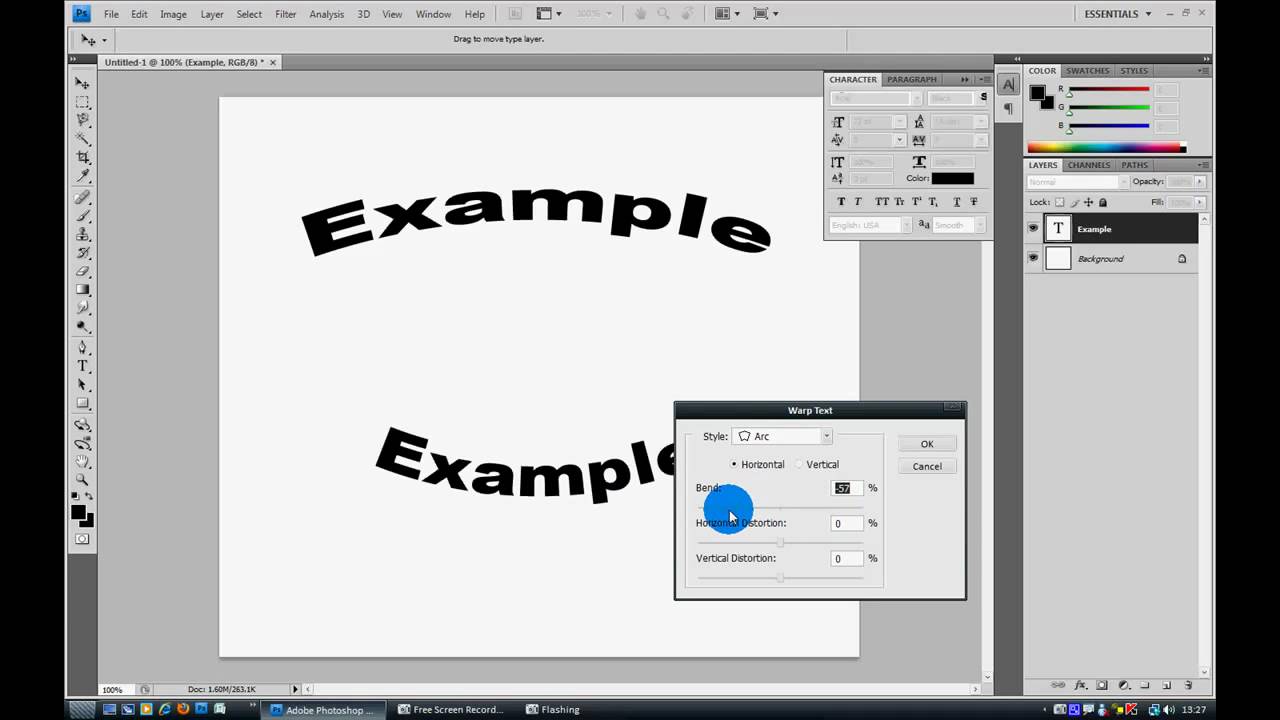
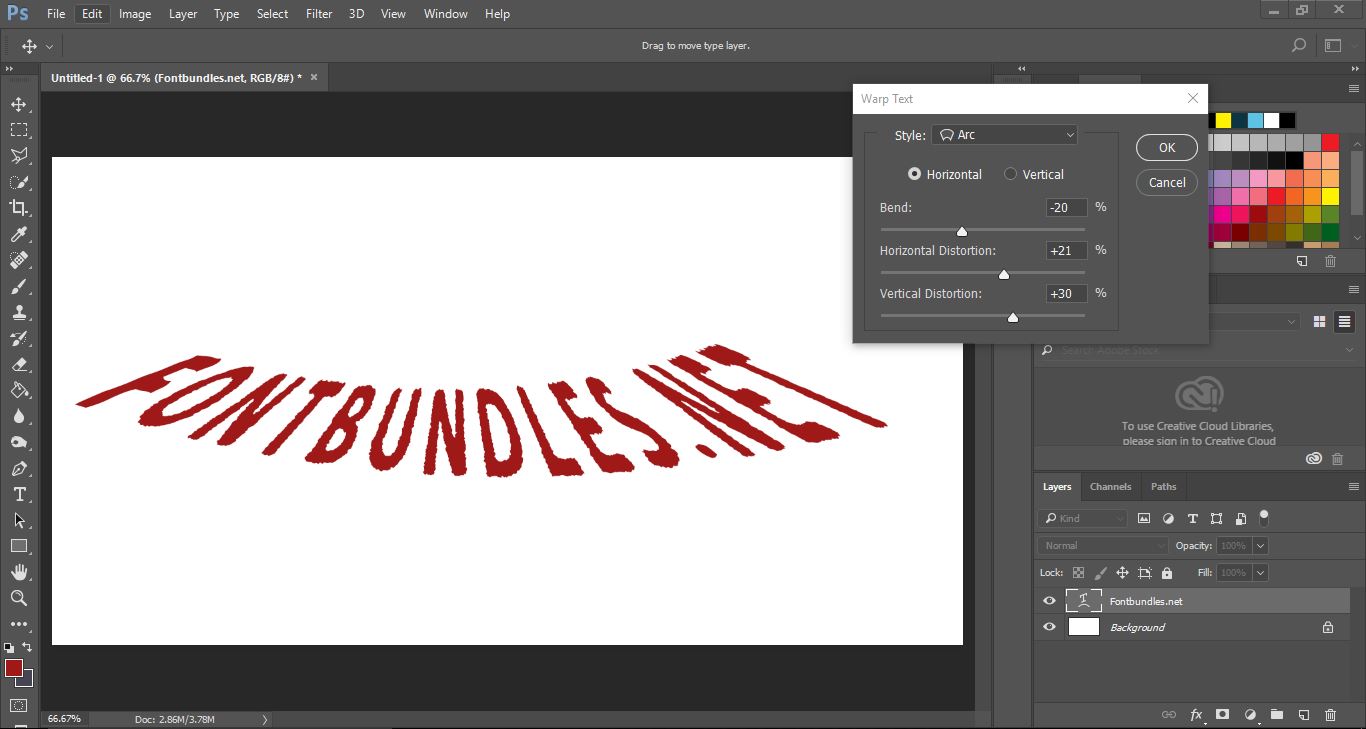
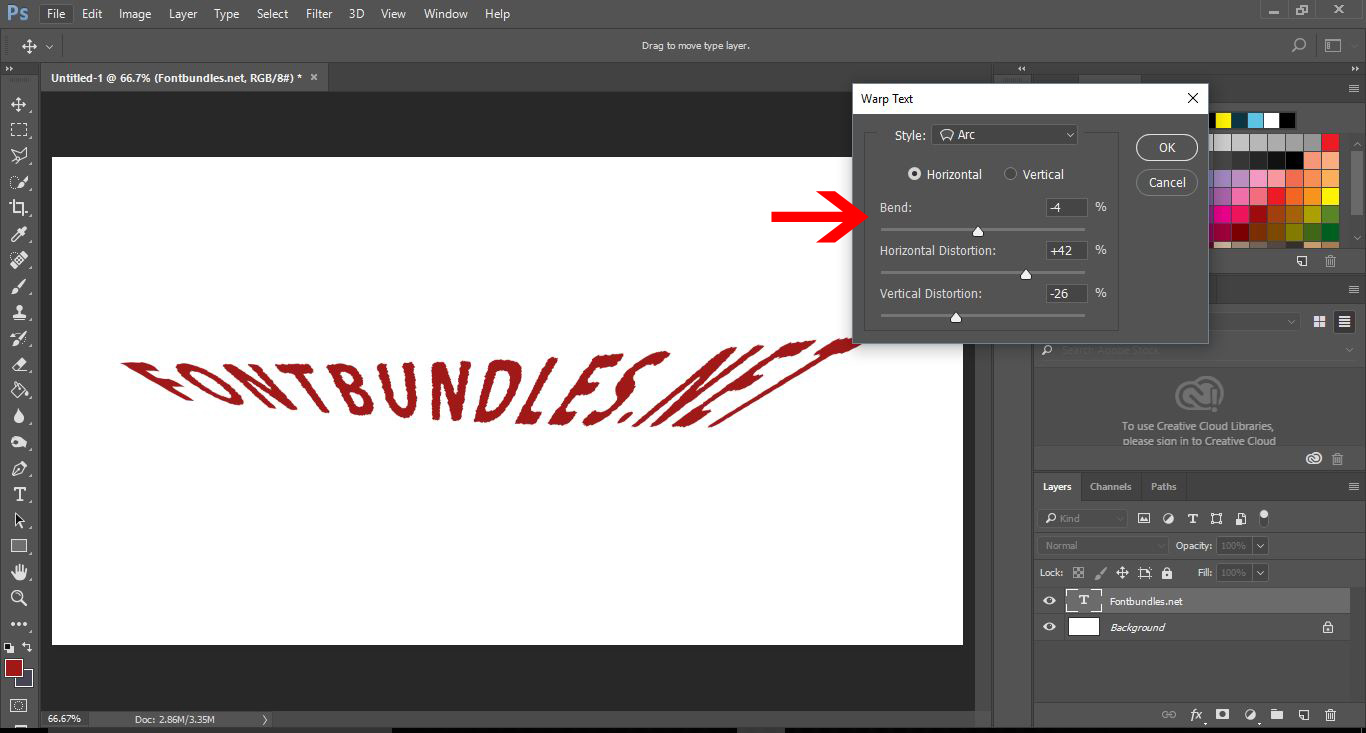
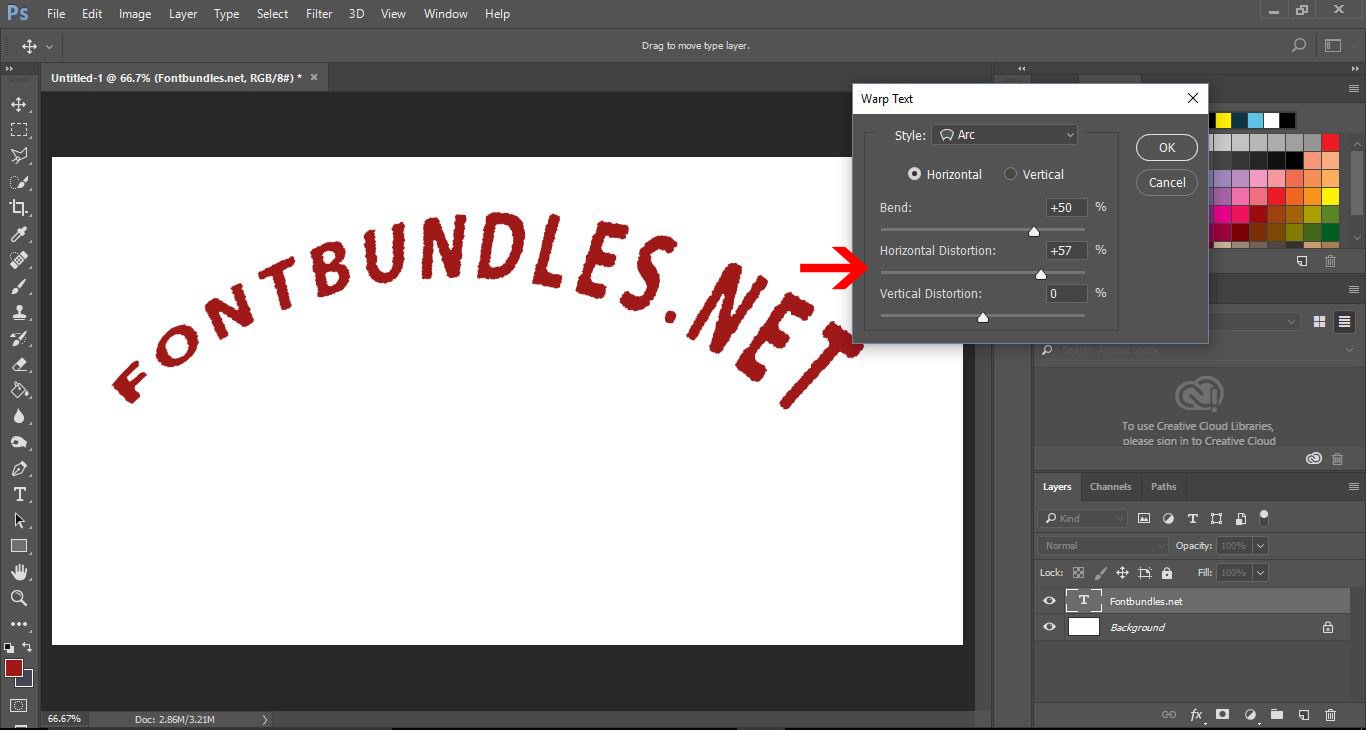
Place the rectangle onto the book page in order to place the white rectangle. Choosing a warp style. With the type tool in hand and the type layer selected in the layers panel, click on the warp text option in the options bar.
It's the icon that looks like a letter t with a curved line below it: Clicking on the warp text option in the options bar. This opens photoshop's warp text dialog box where we can choose which.
Add a gradient overlay to the text. To fill the text with a gradient, click the fx icon at the bottom of the layers panel: Clicking the layer effects (fx) icon.
Choosing gradient overlay from the list of layer effects. Open your project file or a new one. From the toolbox, choose the shape tool or press u to activate it.
Choose your desired shape and draw it. Click the type tool in the toolbox or press t to bring it out. Move the cursor close to the shape’s edge, and.
To do so, select your text layer within your layers panel. Select create smart object from this list. Now, the text itself is preserved.
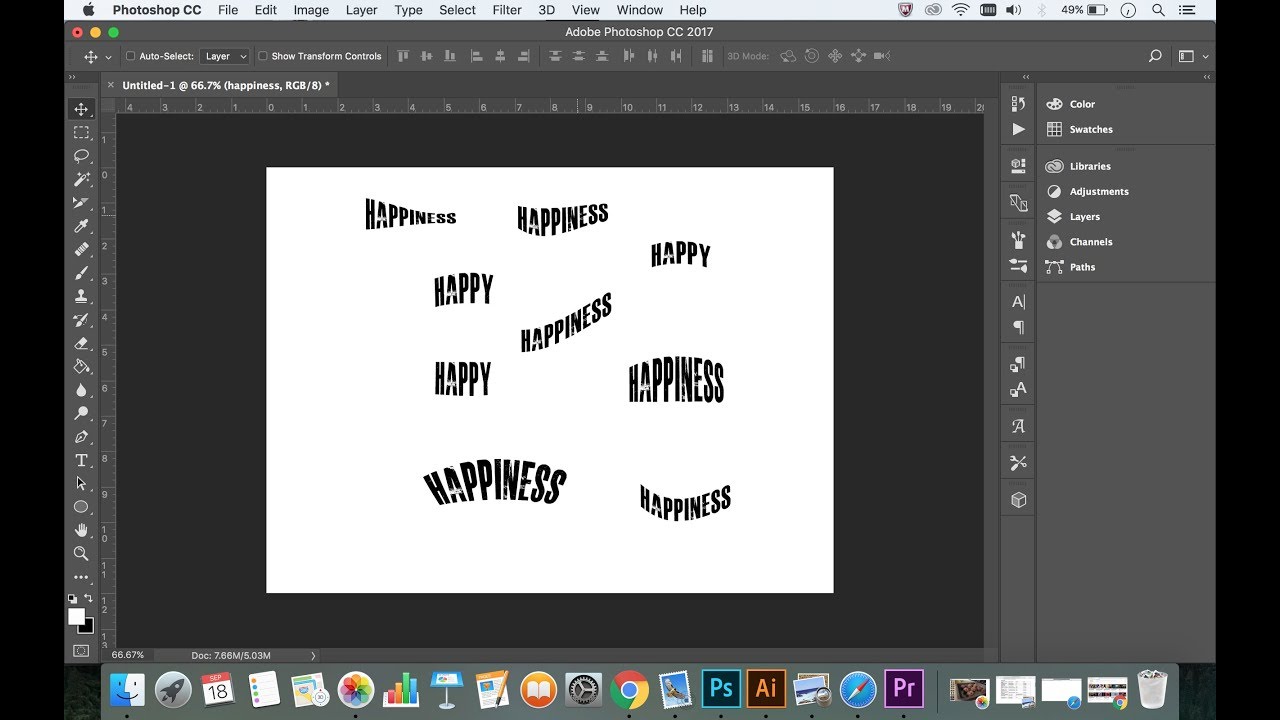
We can add effects, but still go back and more easily adjust the text itself, if we need to. Create a new document. Launch the program and click file > new.
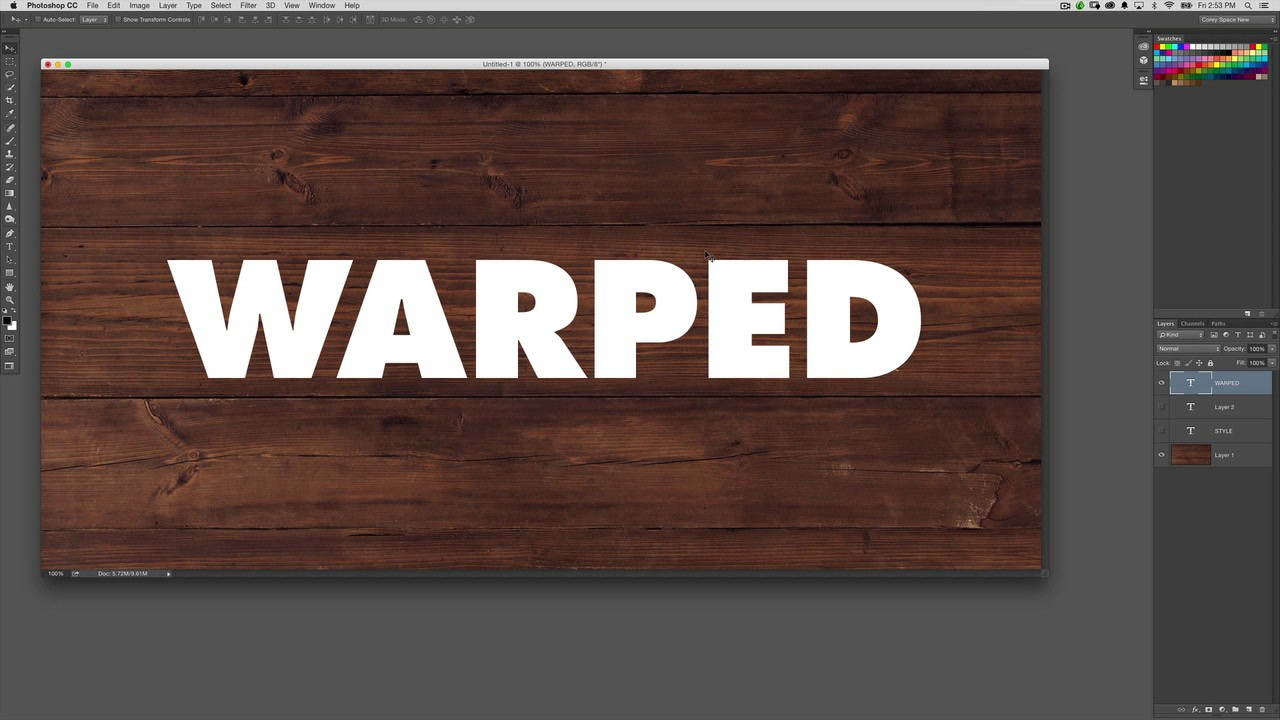
Enter the document name, and set such parameters as width (800px) and height (500px). Choose “ white ” for the background contents. How to warp text in adobe photoshop cc 17.
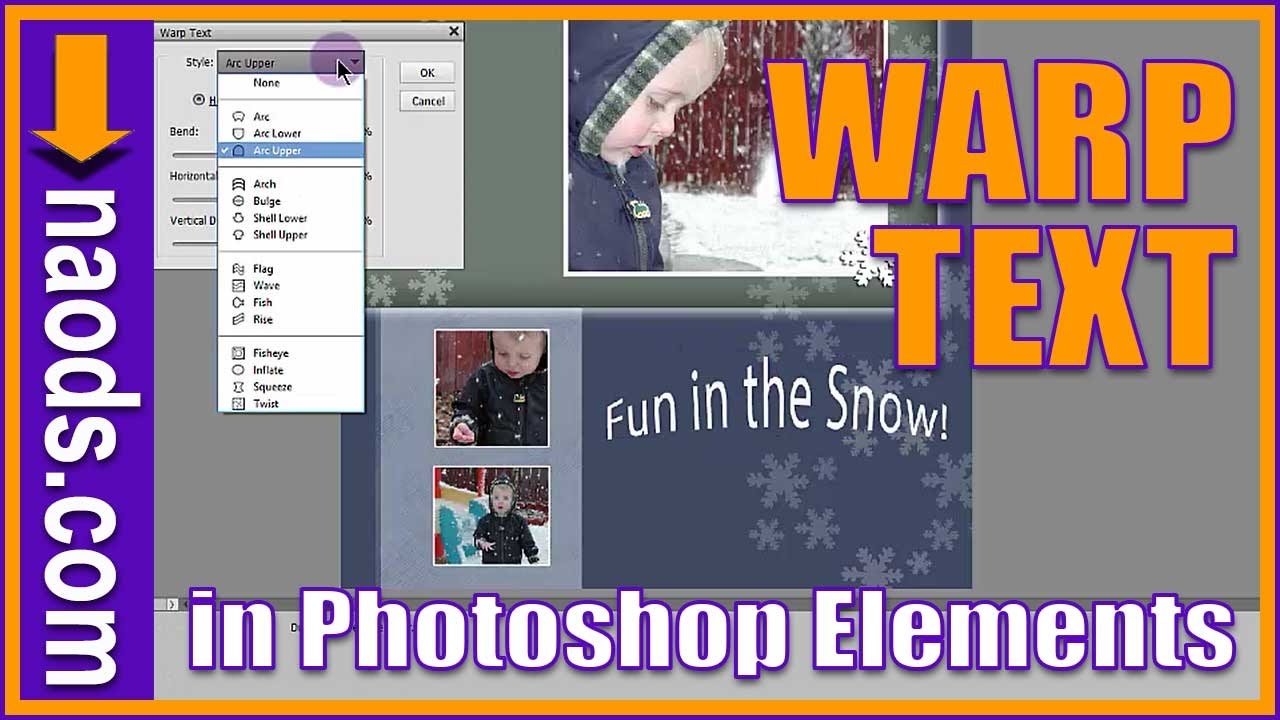
How to get text to follow a line or circle in photoshop. Hi everyone, it is time to bend your text. Warp it around, do some different shapes, adjust it and definitely look at how to turn it into a fish shape.
All right, let's get started. Do so in the area where you want the text to be. Type the text you want to bend.
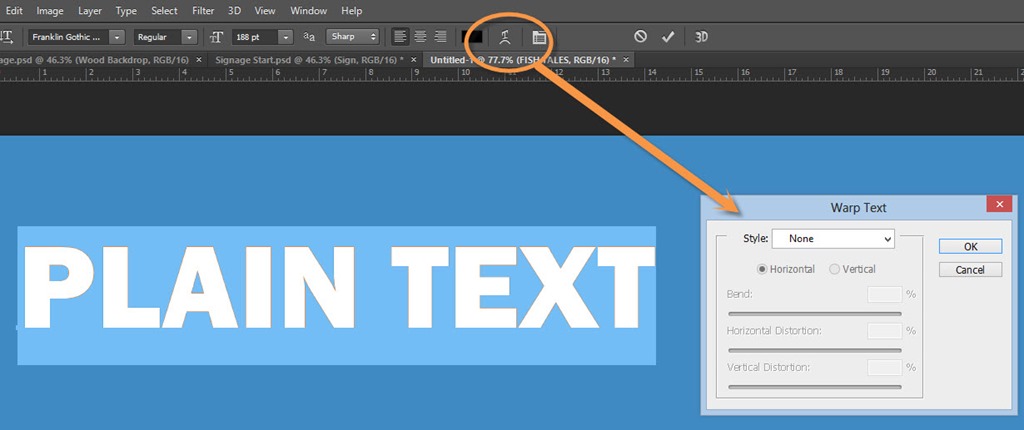
It's at the top of the window, toward the right side. How to use photoshop's warped text step 1. First, you'll want to set up your logo or whatever graphic you want the text to wrap around;
This is optional of. I am using the zenzero grotesk font if you were curious. How to warp text in photoshop 1.
Create a new blank file or open an existing image file that you want to add some text to. Select the horizontal type tool. In the options bar at the top of the screen, choose a font (i’m using.
Go back to the text tool and try again. You should now be able to fill the shape with text. Wrap around a shape.
You can also attach text to a shape and cause it to wrap around the edge of the shape. This can make some really interesting effects. To do it, the concept is similar.
Pick any shape you want.